Monday, November 16, 2015

Acorn Squash stuffed Pumpkin Ravioli!

It was super hard to choose a name for this one. I wanted to call it "Stereotypical fall food" but it wasn't very informative haha. Ok... Just a warning! I made this on a crisp autumn Sunday when I had nothing else to do. With the Missy Elliott station on Pandora, I basically cooked all day. This is not one of my quick recipes.


Here are ways to speed it up:
* Using canned or frozen pumpkin/squash
* Using a pasta attachment rather than hand rolling
* Using a favorite pre-made sauce

Personally, I enjoyed the day of cooking, and I'm sure the food tasted better for the lack of shortcuts. For all of you visual learners out there, this time I tried to do a little video :).  I hope it helps!

Baking the Acorn Squash and Pumpkin: (skip this step if you're using pre-cooked)
1 Small Pumpkin Pie Pumpkin
1 Acorn Squash
Olive oil (to brush the surface)
Baking
Preheat the oven to 400 degrees F. Cut squashes in half horizontally and remove the seeds (save these in a separate bowl for a yummy treat! I'll add those instructions at the bottom of the page). Place water 1" deep into the bottom of a glass baking dish, and place the squash cut side down in the dish. Poke holes with a fork in the skin and brush the surface with olive oil. Place in the oven for 30 minutes (I checked after 20 and left them in 10 more minutes). Poke surface with a fork. It's ready when it goes in very easily. Peel all of the squash after it's cooled. Keep the acorn squash as is to add to the recipe later, and make a puree out of the pumpkin.

Pumpkin Puree:
To make the pumpkin Puree, simply allow the pumpkin to cool, then remove the skin. This should be easy as long as it has been cooked properly. Add the pumpkin and 1/2 cup water to a blender and blend away! That's it ;).

Ravioli:
Ingredients
2 cups all purpose flour
1/2 cup pumpkin puree (heaping)
1/4 tsp salt
2 tsp extra virgin olive oil

Directions
Combine all ingredients in a mixing bowl (I added the puree between the cups of flour to make mixing easier. A mixer with a dough hook would work for this as well). Cut the ingredients together with a spatula until the flour covers everything, then knead it a bit, forming it into a ball. Cover and set aside.

Filling:
Ingredients
1 1/2 TBS Extra Virgin Olive Oil
2 TBS sliced Shallot
1 tsp chopped Ginger
1/2 roasted Acorn Squash
1/2 tsp Thyme
1 TBS Nutritional Yeast
1/4 tsp Chipotle powder (opt)
2/3 cup shredded Daiya Cheese
Salt and Pepper to taste

Directions
In a medium skillet on medium low heat, add the oil. Once oil is hot, add the ginger and shallot. Cook for about 5 minutes until the shallot is soft. Add the Thyme and squash, turning up the heat to medium and stirring the whole time. After the texture of the squash is like a pasty glob (real technical here... about 10 minutes), move off of heat. After allowing this mixture to cool, place in a blender and blend until smooth. Pour mixture into a bowl and add the nutritional yeast, chipotle powder, Daiya cheese, salt and pepper.
*NOTE* When making the filling, keep in mind that this is what it will taste like in the end. It may seem like the flavors are too strong, but the mild flavor of the sauce and the pasta will balance it out in the end. If the filling isn't flavorful enough, the dish will turn out bland. I made my filling quite salty, but the choice is yours. I also ended up having extra filling, but I'd rather have too much than not enough.

Putting it together
Now comes the fun part! Place water and a pinch of salt in a big pot and start it boiling. If you have a pasta machine, now is a good time to use it. Otherwise, take a 3" chunk of the ravioli dough and roll it out with a rolling pin. Then fold it and roll it out again. Repeat this 4 times. Finally, roll the dough into a rectangle shape about 3" wide and 1/16" thick. Put a  nickel sized amount of filling  down one side of the rectangle, spacing them out about an inch. Then, slightly dampen the edges of the pasta dough and in-between the filling, then bring the other side of the dough over the filling and seal it with your fingers. If you have a pasta cutter, that seals and cuts you can use that to separate the raviolis. Otherwise, go ahead and use a knife to separate them, then seal the edges with a fork. Whatever your method the point is, seal up the dough edges around the filling so that it won't come out. Easy. Now your water should be boiling, so place the raviolis that you created into the pot and stir it in the beginning to make sure they don't stick to the bottom. Allow them to cook for 3-4 minutes. I allowed mine to float to the top then cook for an additional 30 seconds. If you're fast you can break off another piece of dough and get started on the next batch while the other raviolis are cooking. When finished cooking, remove raviolis from the pot and put in a strainer over the sink. Rinse in cold water to prevent further cooking while the other batches are being prepared. Continue process until dough is finished. This will make about 20-25 raviolis with a diameter of 1 1/2" by 1 1/2".

Sauce:
Ingredients
2 1/2 TBS Extra Virgin Olive Oil
1 cup Soy milk
1/2 cup Nutritional Yeast
2 tsp Flour (preferably mixed separately with 2 TBS water before adding to avoid chunks)
1/8 tsp Nutmeg (a little goes a long way. I barely caught a hint of it in the end, so add a bit more if you like it)
Salt and Pepper to taste

Directions
This one's easy! Combine olive oil and soy milk in a medium skillet set on medium heat. Continue to stir until it bubbles. Allow mixture to bubble on medium heat and stir in the flour (or flour/water mixture), and continue to stir as it thickens. Reduce heat to medium low and stir in the nutritional yeast, nutmeg, and salt and pepper. Remove from heat!

I was going for a mild and light alfredo-ish sauce with a bit of a autumn twinge! When the sauce is finished, add the Raviolis to the skillet and mix them in to heat them up and coat them with the sauce.  Plate them and add a little cracked pepper to top it off! After all of that hard work, even if they turn out disgusting, you'll think they're the best ever hahaha. Honestly though, I hope you enjoy it. Please leave a comment and let me know what you think, changes you made, etc.

 photo Ravioli.jpg
---------
Roasted Pumpin/ Acorn Squash seeds:
As an added bonus, while you wait for the squash to bake, prepare some yummy seeds! It takes a bit of time, but use your fingers over a bowl to separate the seeds from the innards of the squash. Throw out the mush and keep the seeds. I rinsed the seeds with water after removing most of the mush and they separated from the bits remaining and it was easier to get the seeds separate.
Ingredients
Seeds (I had approximately 1 cup)
1/8 tsp onion powder
1/8 tsp garlic powder
1/4 tsp Seasoned Salt
1 TBS Olive Oil
Directions
Mix the olive oil into the bowl of seeds. Then add all spices! Spread the seeds onto a foil covered pan and add a sprinkle more seasoned salt (I like them super salty!). Bake at 250 degrees F for 10 minutes, then change the temp to 300 degrees for the next 15 minutes. To be honest, I over checked these. I looked every 3-5 minutes. The problem is, they should be crispy but it's easy to burn them. Keep in mind they will cook a bit when you take them out. If they seem crispy but not burned, they're ready! Let them cool then eat them up :).

Creamy, Spicy, and Vegan Mac & Cheese


 photo IMG_8536.jpg


Hey all! I was craving some comfort food and went through what I had in the house. Macaroni and cheese is perfect comfort food and anything spicy makes me happy :). Some of the ingredients in this recipe aren't necessarily what everybody has lying around, but they can easily be replaced with something else. As always, I just threw things into the pot, but I'll approximate the measurements for your convenience. Now, Let's eat!


 photo IMG_8526.jpg


 photo IMG_8527.jpg

Ingredients:
1 1/2 Cup dry Macaroni Noodles
2 cups Plain Soy Milk
1 TBS Vegan butter
1 TBS Flour + 2 TBS warm water
2 tsp Coconut Aminos (or soy sauce)
1/2 cup Shredded Daiya Cheese
1/2 cup Nutritional Yeast
2 tsp Sriracha Sauce (or to taste)
1 tsp Garlic Powder
2 tsp Curry Powder
1/2 tsp Chipotle Powder (a little goes a long way!)

Directions:
It's easy! Just boil the macaroni noodles for 8 minutes (Or until done) and set aside. Then, in the same sauce pan on medium heat, add the vegan butter, soy milk, and coconut amino acids.

 photo IMG_8528.jpg

In a small container, mix the flour and water until there are no bumps. Add this to the sauce pan (keep stirring! this will help thicken the sauce)

 photo IMG_8529.jpg

After sauce thickens (approximately 3-5 minutes), add the Daiya cheese, Nutritional yeast, Sriracha, and spices.
 photo IMG_8532.jpg

Next, just add the noodles back into the sauce pan and mix all together. FINISHED! See? So simple. Enjoy!


 photo IMG_8533.jpg

Sunday, February 15, 2015

5 Minute Dark Chocolate (Raw Vegan)

I cheat. Let's be real, I do my best to be a good vegan, but sometimes I can't help myself. Like the other day when I was starving and waiting in a loooong line at Victoria Secret the day before Valentine's Day. All I could think about was how I needed food before I pass out, and the sweet check-out lady answered my prayers with a complimentary box of chocolates. Nice touch VS. Nice touch. Naturally I went and stuffed a couple in my mouth despite being vegan AND allergic to dairy hahaha.


Those chocolates are now sitting on my counter and the way I avoid temptation is easy (No. I didn't throw them away. I'm not crazy.) I just made my own vegan chocolate so that if I was tempted to go for the normal ones, I'd remember that I have an even MORE delicious option in the freezer! I used a chocolate pomegranate recipe for the basic idea of how to make the chocolate, then made my own version. Here's what I did:

Ingredients:
1/3 cup coconut oil (melted)
1/2 cup pure maple syrup (warm)
3/4 cup raw cocoa powder
sea salt
raw cashews

Prep Time: 5-10 minutes (depending how you melt your oil)
Freeze Time: 20 min

To Make:
I melted to the coconut oil and maple syrup together, then folded in the cocoa. The first time I made this I mixed the oil and cocoa then whipped in cold maple syrup and it made a cool puffy chocolate, but it was messy to eat. The way you mix this together really effects the outcome. Once the cocoa was more incorporated into the mix, i slowly stirred it. I then cooled it slowly by surrounding the mixing bowl in a larger bowl with cool water and slowly mixed the chocolate until it seemed silky rather than separated.


That's the main chocolate! You can really do anything you want with this step. I set little clumps of cashews on a metal try with parchment paper, then spooned chocolate over them. I also made some plain dollops without nuts. I bet spooning it onto shredded coconut would be AWESOME or any other type of nut. ANYWAY...

When I was finished doing that, I went back and covered them again for good measure, then powdered the tops with the raw cocoa powder for a touch of bitterness, and ground a bit of sea salt over the tops. THIS PART IS IMPORTANT! I'm serious, without the sea salt is good, WITH the sea salt, it's the best ever.

Put it in the freezer for about 20 minutes. That's all. No excuses.

See? I wasn't kidding when I said the vegan chocolate was a yummier option.  I took some bites before the photo ;). And I SHARED the VS chocolate. That's not all on me hahahaha


Vegan Cheddar Cheese Ball

I came up with this recipe when the creative energy was flowing after a juice fast :). I think the thing that mainly intimidates people when making vegan foods are the weird ingredients. This one is almost raw and easy to tweak to make it raw. HOWEVER I'd like to say, once you have some of this stuff, it's something you'll use a lot and keep for a long time. After you make one or two raw things, it won't feel intimidating at all! ALSO, things are very easy to substitute. This is not an exact science, so play around! This one also takes minimal effort so don't worry about time being an issue :)


Ingredients:
1 cup raw soaked cashews (I soak overnight but 6 hours should be fine)
2 roasted bell peppers (I use the jarred and add a splash of the oily water)
1 pinch each: mustard seed, turmeric powder, chipotle powder, sea salt
2 tsp coconut amino acids
1 tsp tamari sauce (if you don't want to use this, add more amino acids. And vice versa)
1/3 cup raw coconut oil (melted)
2 TBS nutritional yeast
1 1/2 tsp oat flour
1/2 tsp arrowroot
1/2 tsp xanthan gum

Top Coating:
1/3 cup finely chopped raw cashews (not soaked)

Prep Time: 10 minutes Freeze Time: overnight

To Make:
Literally just put it all into a food processor and process the hell out of it. No joke. It's that easy. Stir it around every once in a while to incorporate everything, but other than that, you're good.

Taste it to see if you want to add any more flavor, but this is what it will taste like in the end so make sure it's ready! At this point it will look like cheese soup. PLEASE feel free to use this as nacho cheese! I almost ditched the cheese ball idea all together once I saw how this turned out and just drizzled it over chips with salsa! BUT... I didn't.

To Form the Ball:
I put plastic wrap inside a bowl leaving the edges out, and and poured the mixture in. Then I took the edges of the plastic together and twisted it so that it was like a pouch with the liquid inside. Don't worry! It was easy. Then I held it together with a twisty, and balanced it in a glass in the freezer (to hold a round shape) overnight.


In the morning I put it in the refrigerator to soften a bit, then rolled the ball in the chopped cashews! To prevent a mess, I didn't completely take it out of the plastic wrap until it was halfway covered and I could roll it with my hand on the coated bit. Then, back in the refrigerator to soften a bit more, or if guests are on their way over, leave it out to thaw and enjoy!

I ate some of it with some raw vegan crackers I created. Yummy!


Friday, June 27, 2014

Spinach Pasta! ...and pesto :)

How to make delicious homemade pasta :) Honestly, this one is with so many approximations that I hope you're the visual type of learner ;).

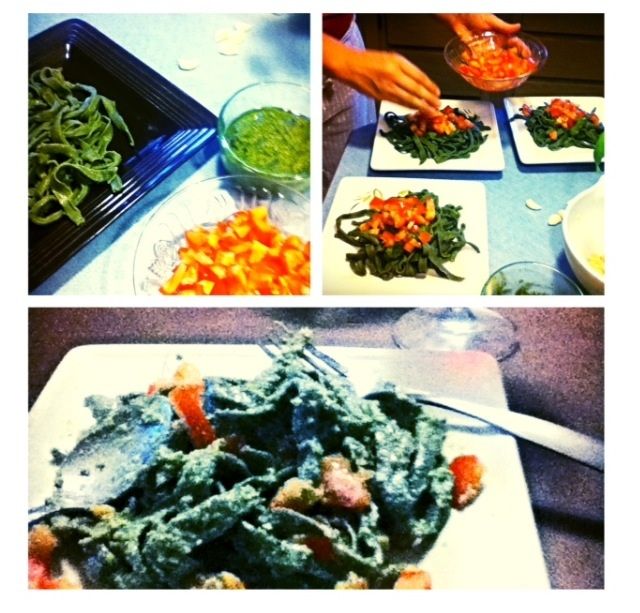
First of all, it's simple to make homemade vegan pasta. All you need is a veggie purée, flour, and a little oil. Here's how I made mine:

One packet of spinach
Whole wheat flour
Olive oil

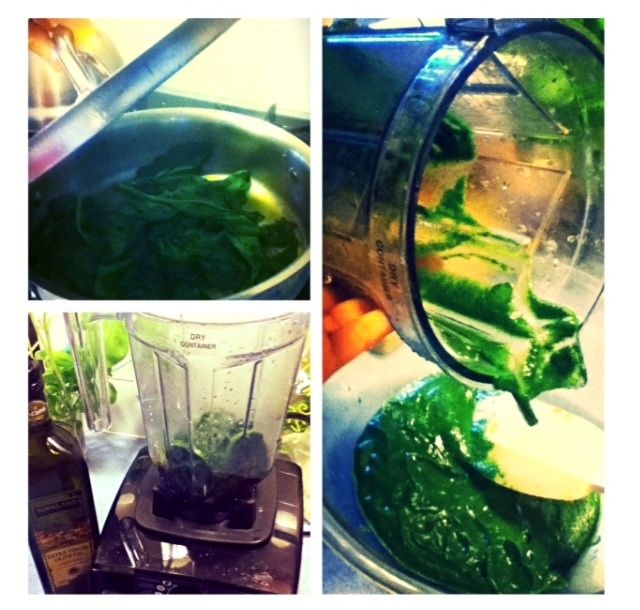
First, put the spinach with a little water in a pan on medium heat, and cover it until the steam makes it soft. About 5 minutes.
Next, add spinach to a blender along with some of the steam water.


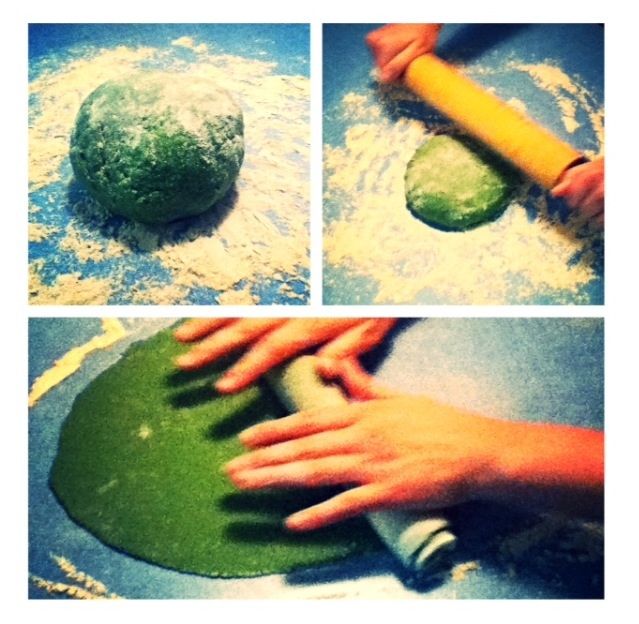
Put the purée into a bowl and mix in flour slowly until it turns from a paste texture into a dough texture. It took me about 3 cups of flour for the amount of purée that I had, but this can vary.


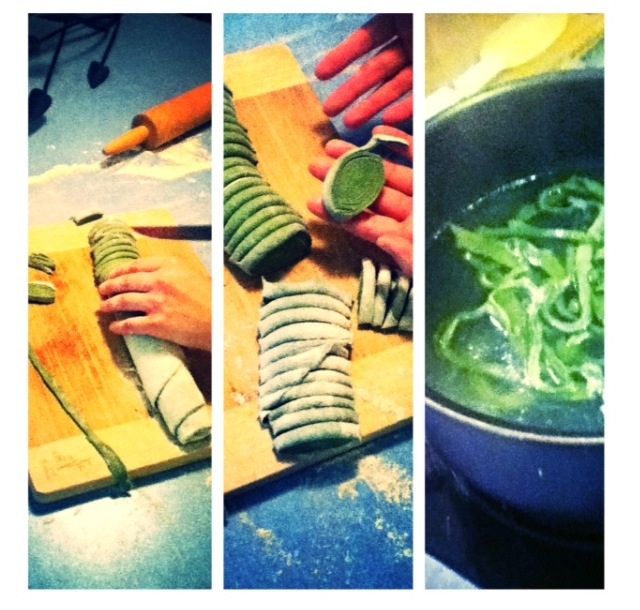
There are many ways to cut the shape of your pasta, but I chose to roll it into a ball, then flatten it to about 1/8" thick. I then rolled the dough up and cut it into thin slices. Make sure you flour the surface before doing so so that you can unwind the dough circles into long noodles :).

Add unwound noodles to boiling water with a pinch of salt added. The fresh noodles only need to cook for about 3 minutes. I did it in batches so as not to over fill the pot. They turned out ugly but yummy!

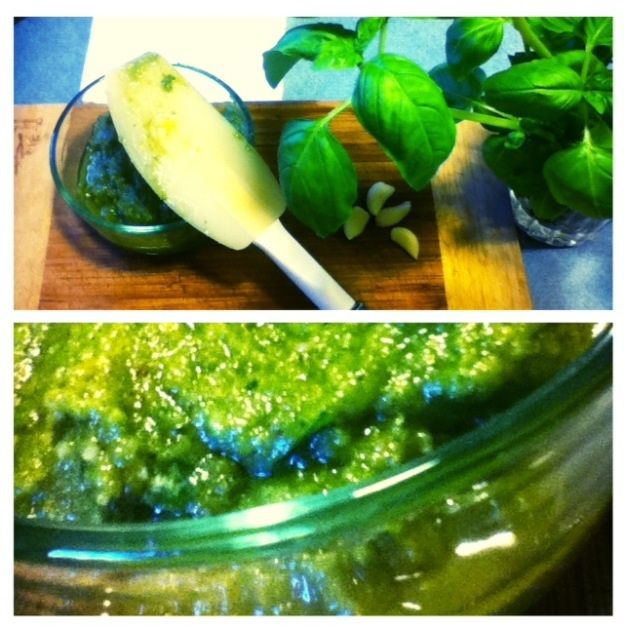
Next, I made the pesto:
2 garlic cloves
1 cup of fresh basil
1 cup walnuts
1/2-1 cup olive oil
Salt and pepper to taste

Just blend everything up in a blender! If it's too thick, add more olive oil. The measurements are approximate and depend on how much you like garlic etc. you can always make this a day in advance and keep it in the fridge to get the flavors better combined if you like. I didn't use all of it for my pasta but wanted to be sure I had enough.

For a fresh garnish, I added chopped tomatoes. Just mix it all up and enjoy!

Tuesday, September 24, 2013

Remolacha Ensalada (Beet Salad)

Remolacha Ensalada:


Hello everyone! I decided to add a recipe on here that I absolutely love! It's almost too easy... When I was living in a hostel in Argentina, there were some Russian guests who taught me this simple dish. Beets are a common theme in Russian cooking, and it was nice to see first hand an easy way to prepare them. This dish is meant to be a spread to put on bread, but I've been know to come home tipsy and just straight up eat a whole batch straight from the bowl haha.


Here's what you need:
5 medium sized beets
2 cloves of garlic
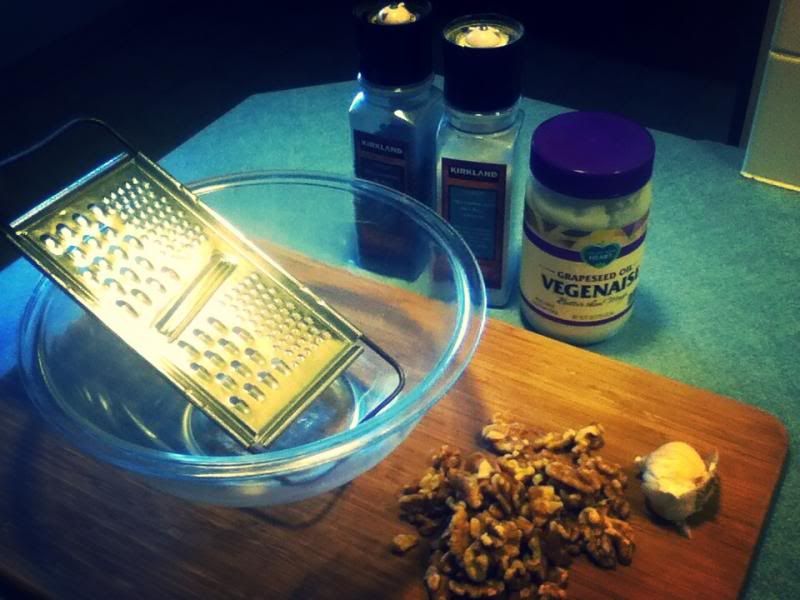
1/2 cup walnuts
Salt and pepper to taste

Optional: 
1/4 cup Vegan Mayonnaise (I used Grapeseed Oil Veganaise)
Nuts or seeds to sprinkle on top! (I used sunflower seeds)


Cheap and easy ingredients, right?
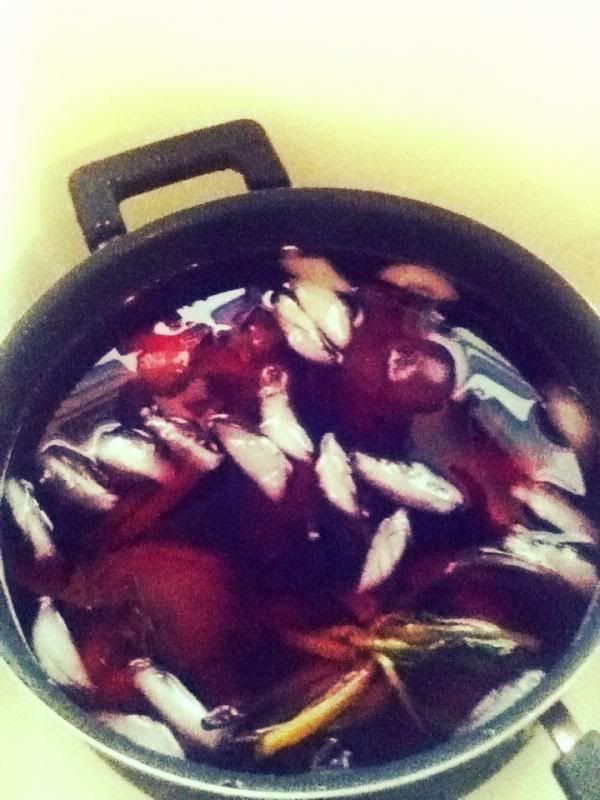
Okay, first go ahead and wash off the beets. You can leave the leaves on or not, it's up to you. Boil a pot of water and add the beets, skin and all. If you left the leaves, let them rest out of the pot and them later as a handle


Let the beets boil until a fork is easily inserted. Approximately 45 minutes but time can vary drastically so I recommend checking after 30 minutes, then in 15 minute intervals.

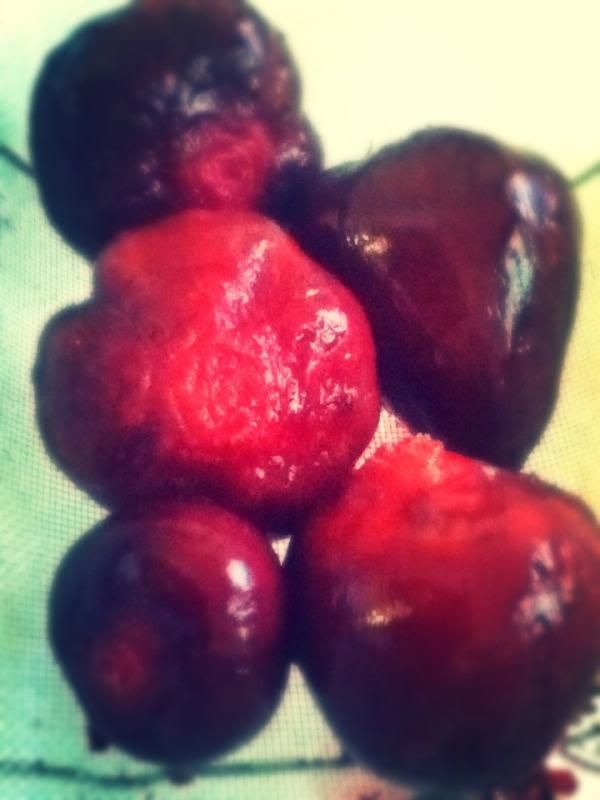
Remove from boiling water and set in a bowl with ice water. Let cool. After the beets are cool enough to handle, removing the skin is so easy! It should slide right off. Discard the skin with care because the beet juice can stain!


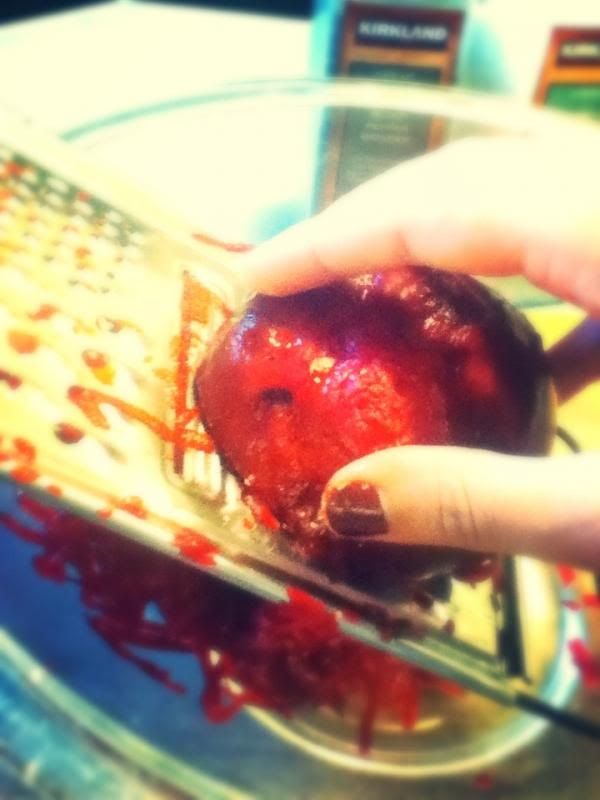
Rinse off the peeled beets and then use a cheese grater to grate them into a bowl. It's so easy!


Then use the same cheese grater to grate two peeled cloves of garlic. This recipe is waaaay better the more raw garlic is in it. Depending on the potency of the cloves this may be too much for some  people or not enough for others. Be sure to taste test as you go if you are a garlic wimp ;).


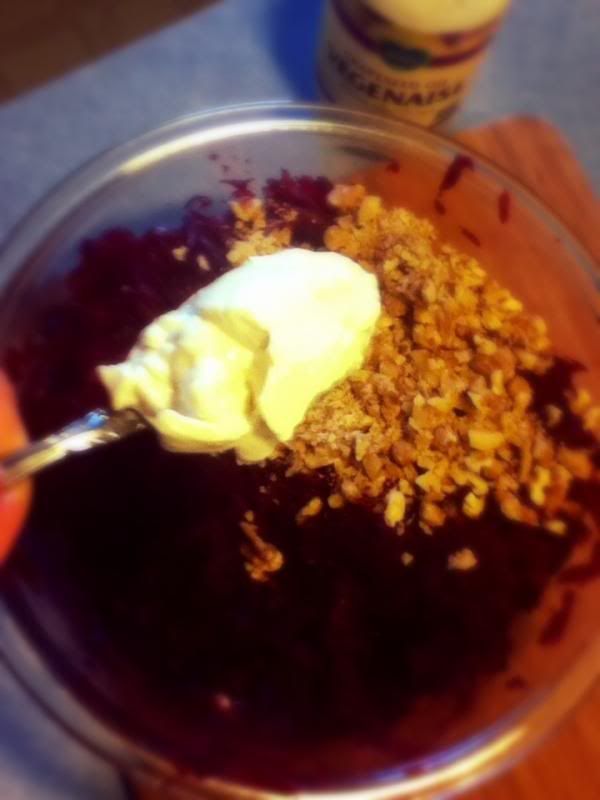
Mix in the veganaise  and finely chopped walnuts, then add salt and pepper to taste. If you want less calories don't add the veganaise. But it helps hold everything together so sometimes it's worth it.


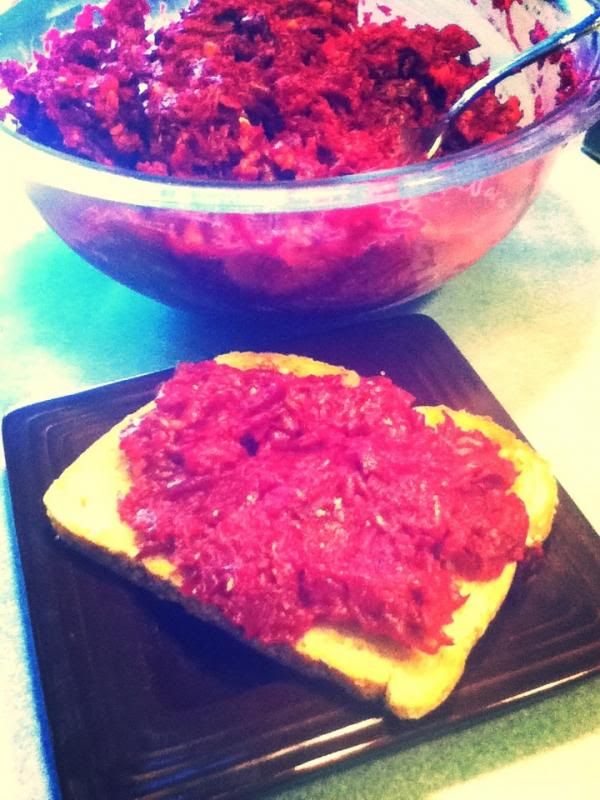
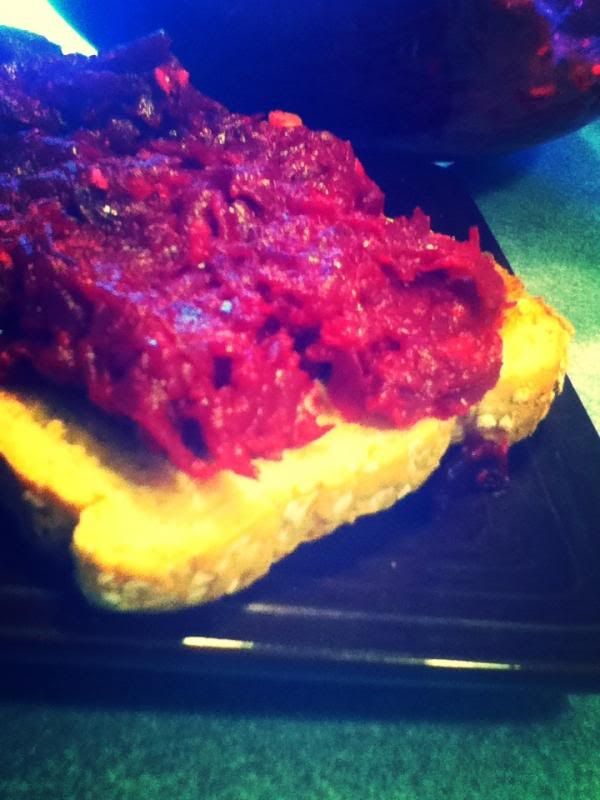
Voila! You're done! Super simple. Slice up some rye bread or anything hardy, and use as a spread. Or, if you're like me, just eat it as is! Hope you like having an easy go-to beet recipe straight from
Russia. Enjoy!


*New Update!!!*

Hello everyone! I just made the greatest discovery ever. Ok... at least for those of us that love beets and also happen to be slightly lazy. 

If you are someone lucky enough to live in the United States and have a Costco nearby, I have a great tip that can take this from a 2 hour snack to a 10 minute snack. I'm sure they have this brand elsewhere as well, but you'll have to look for it on your own if you don't have a Costco nearby. It's called "Love Beets".


Basically it's boiled and skinned beets packaged into groups of 3 or 4 and vacuum packed without preservatives or anything. Of course you'd be paying for the convenience and packaging, but let's be real. Sometimes it's worth it. 

Monday, April 9, 2012

Squashadilla

This is super delicious! Okay this is one of my favorite things lately. Even my non vegan friends can’t hide how much they love it haha. This is a recipe that I saw online on SparkRecipes and tweaked a lot to make it how I like it. I make it with homemade tortillas which are super easy and make the whole meal a thousand times better, so I suggest you give it a try!


Tortilla
Ingredients:
2 cups all-purpose flour 
1 teaspoon salt 
1/4 cup vegetable shortening 
1/2 cup water, lukewarm 
Directions:
Combine the flour and salt, and cut in the shortening with a knife until fine particles. Add the warm water gradually, and toss with fork to make a stiff dough. 
Knead thoroughly on a lightly floured surface until smooth and flecked with air bubbles. Divide dough into 8 balls and roll as thinly as possible. 
It only takes about 30 seconds per side to cook :)
Filling
Ingredients:
2 and 1/2 cups cooked butternut squash
2/3 cup salsa
Pinch of salt (optional)
Daiya Mozzarella cheese (vegan)
Toppings
guacamole
tapatio sauce
Basically, I make the tortillas but don’t cook them yet. Then, I mush up the squash and add some salsa and salt to it. Then, after I cook the tortilla on both sides, I add some of the filling while still on the griddle, topping with the cheese, then putting another tortilla on top. I flip it once just to make sure everything is heated through, then plate it and top with guac and tapatio :) It’s soooo good.